Step 1: Entry of Patient Demographics
Once you create an account and login, you will be taken to a page where you’ll enter your patient demographics. It will look like this:
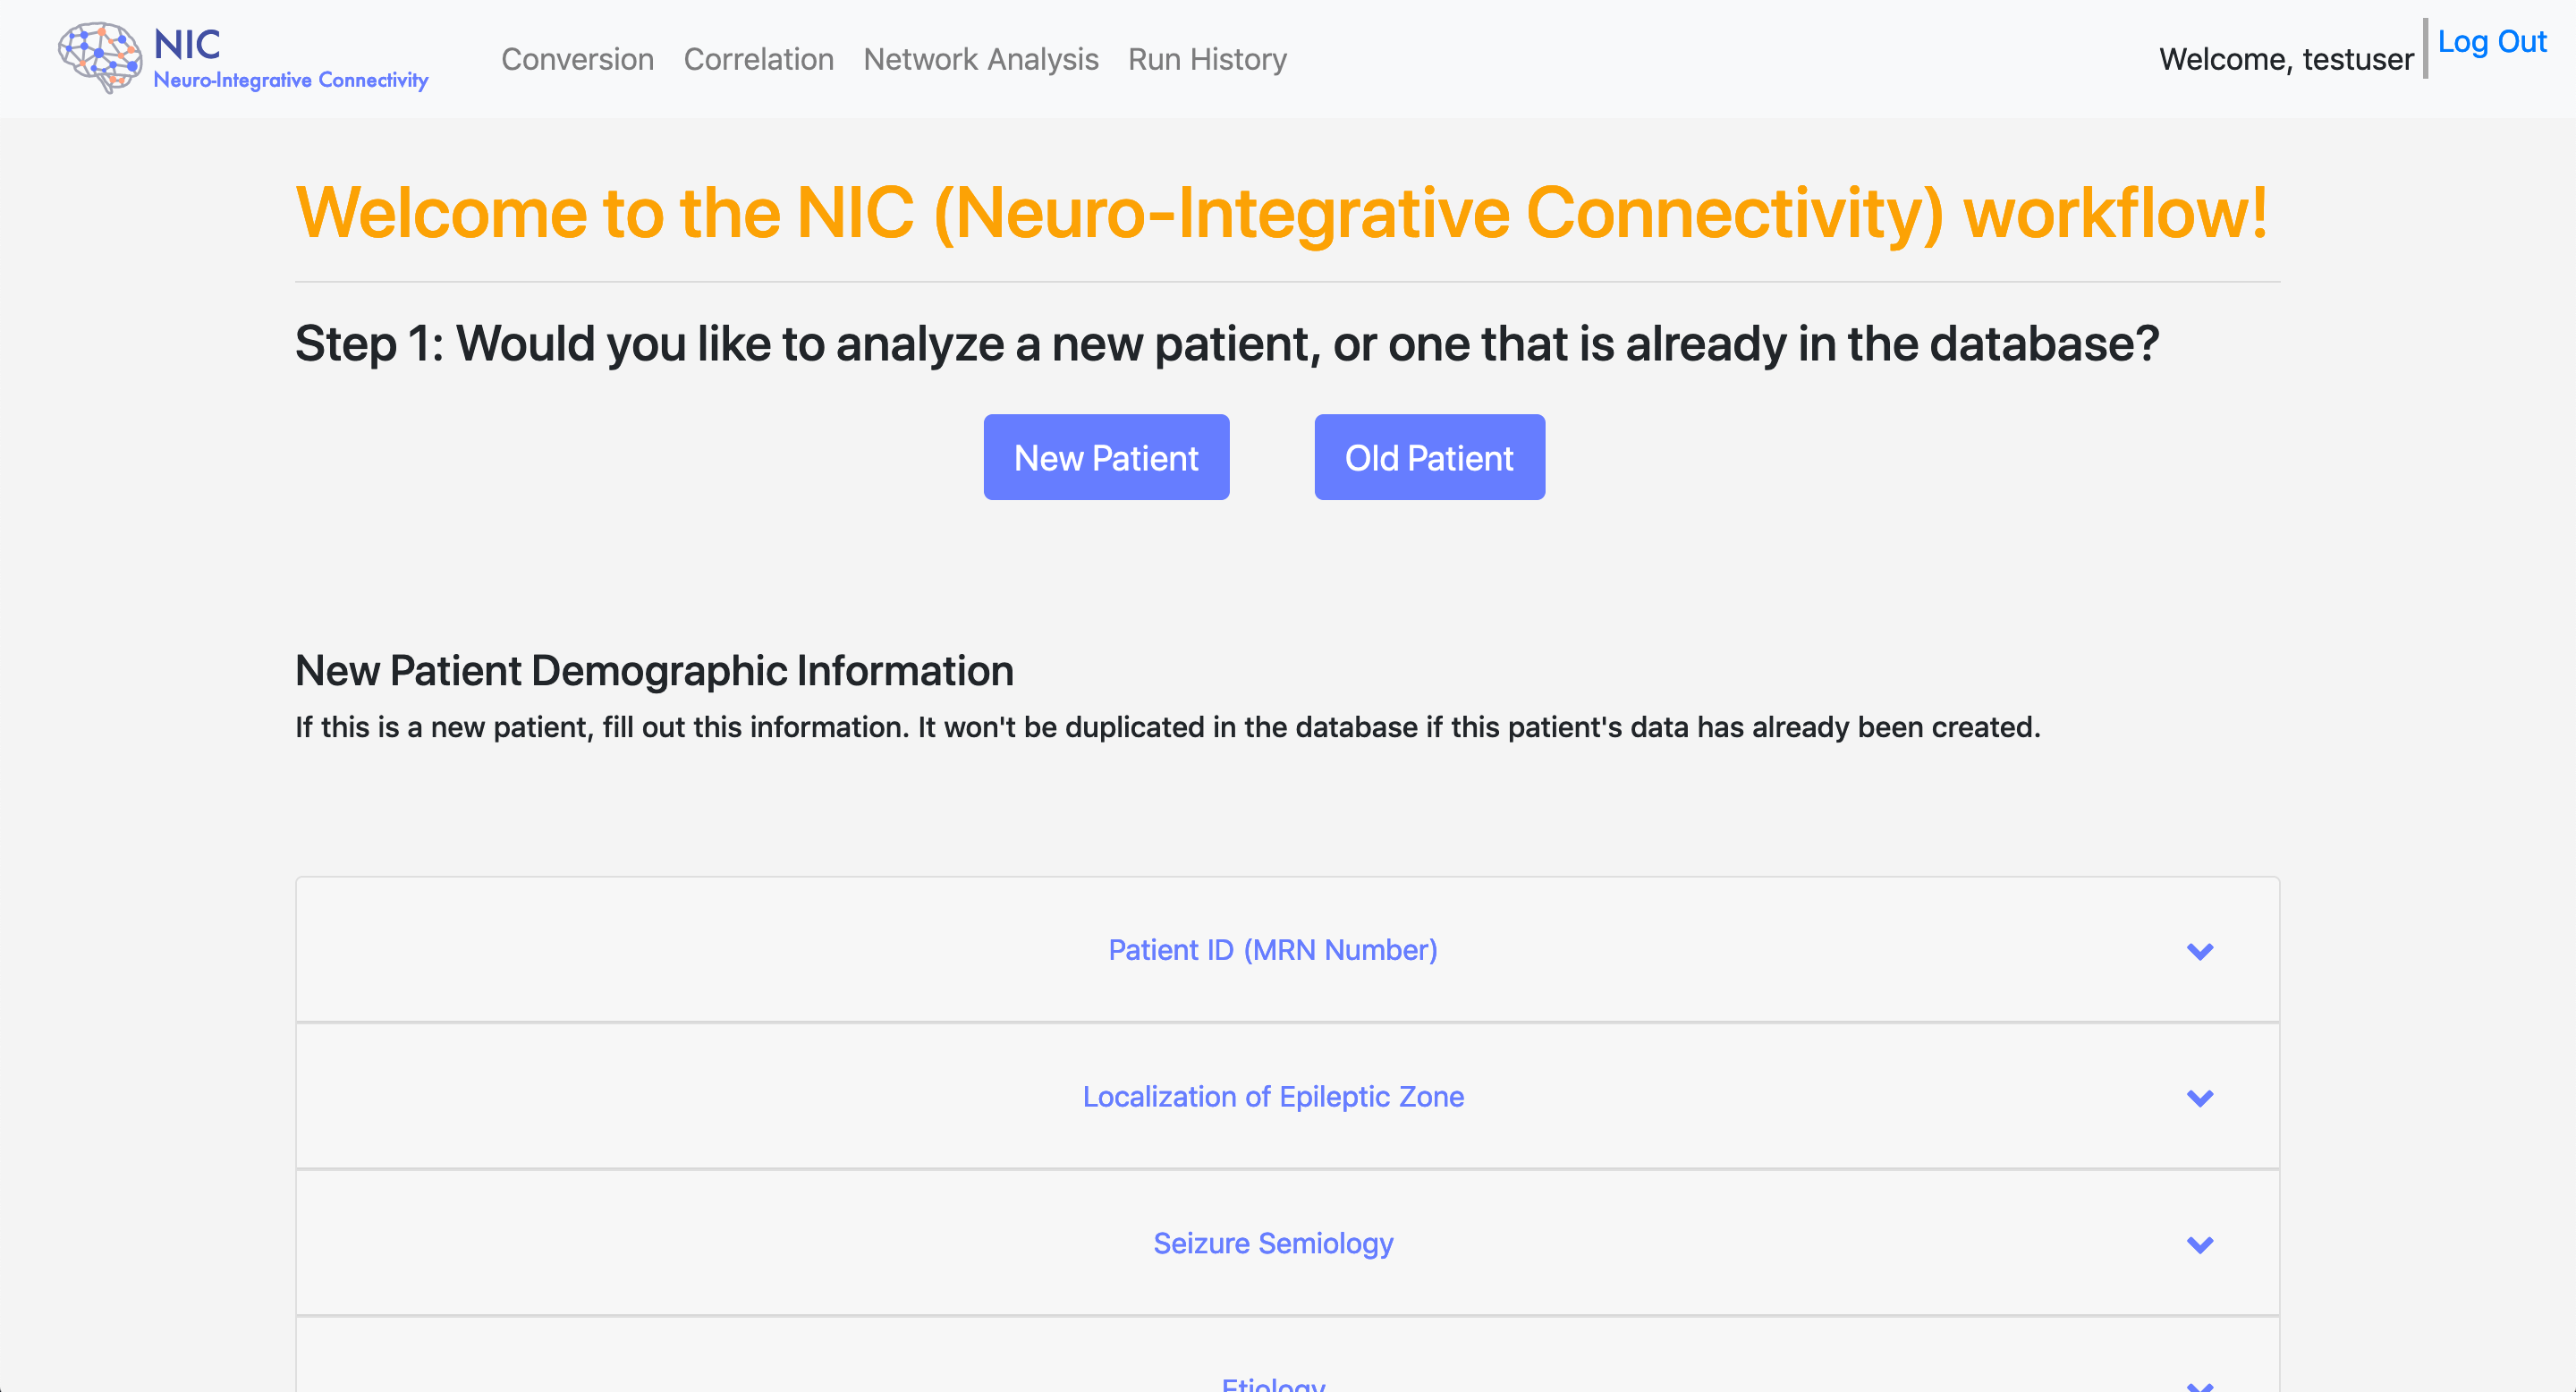
The page will guide you through the steps. There are two options that you can choose. You can start analysis about a New Patient or an Old Patient.
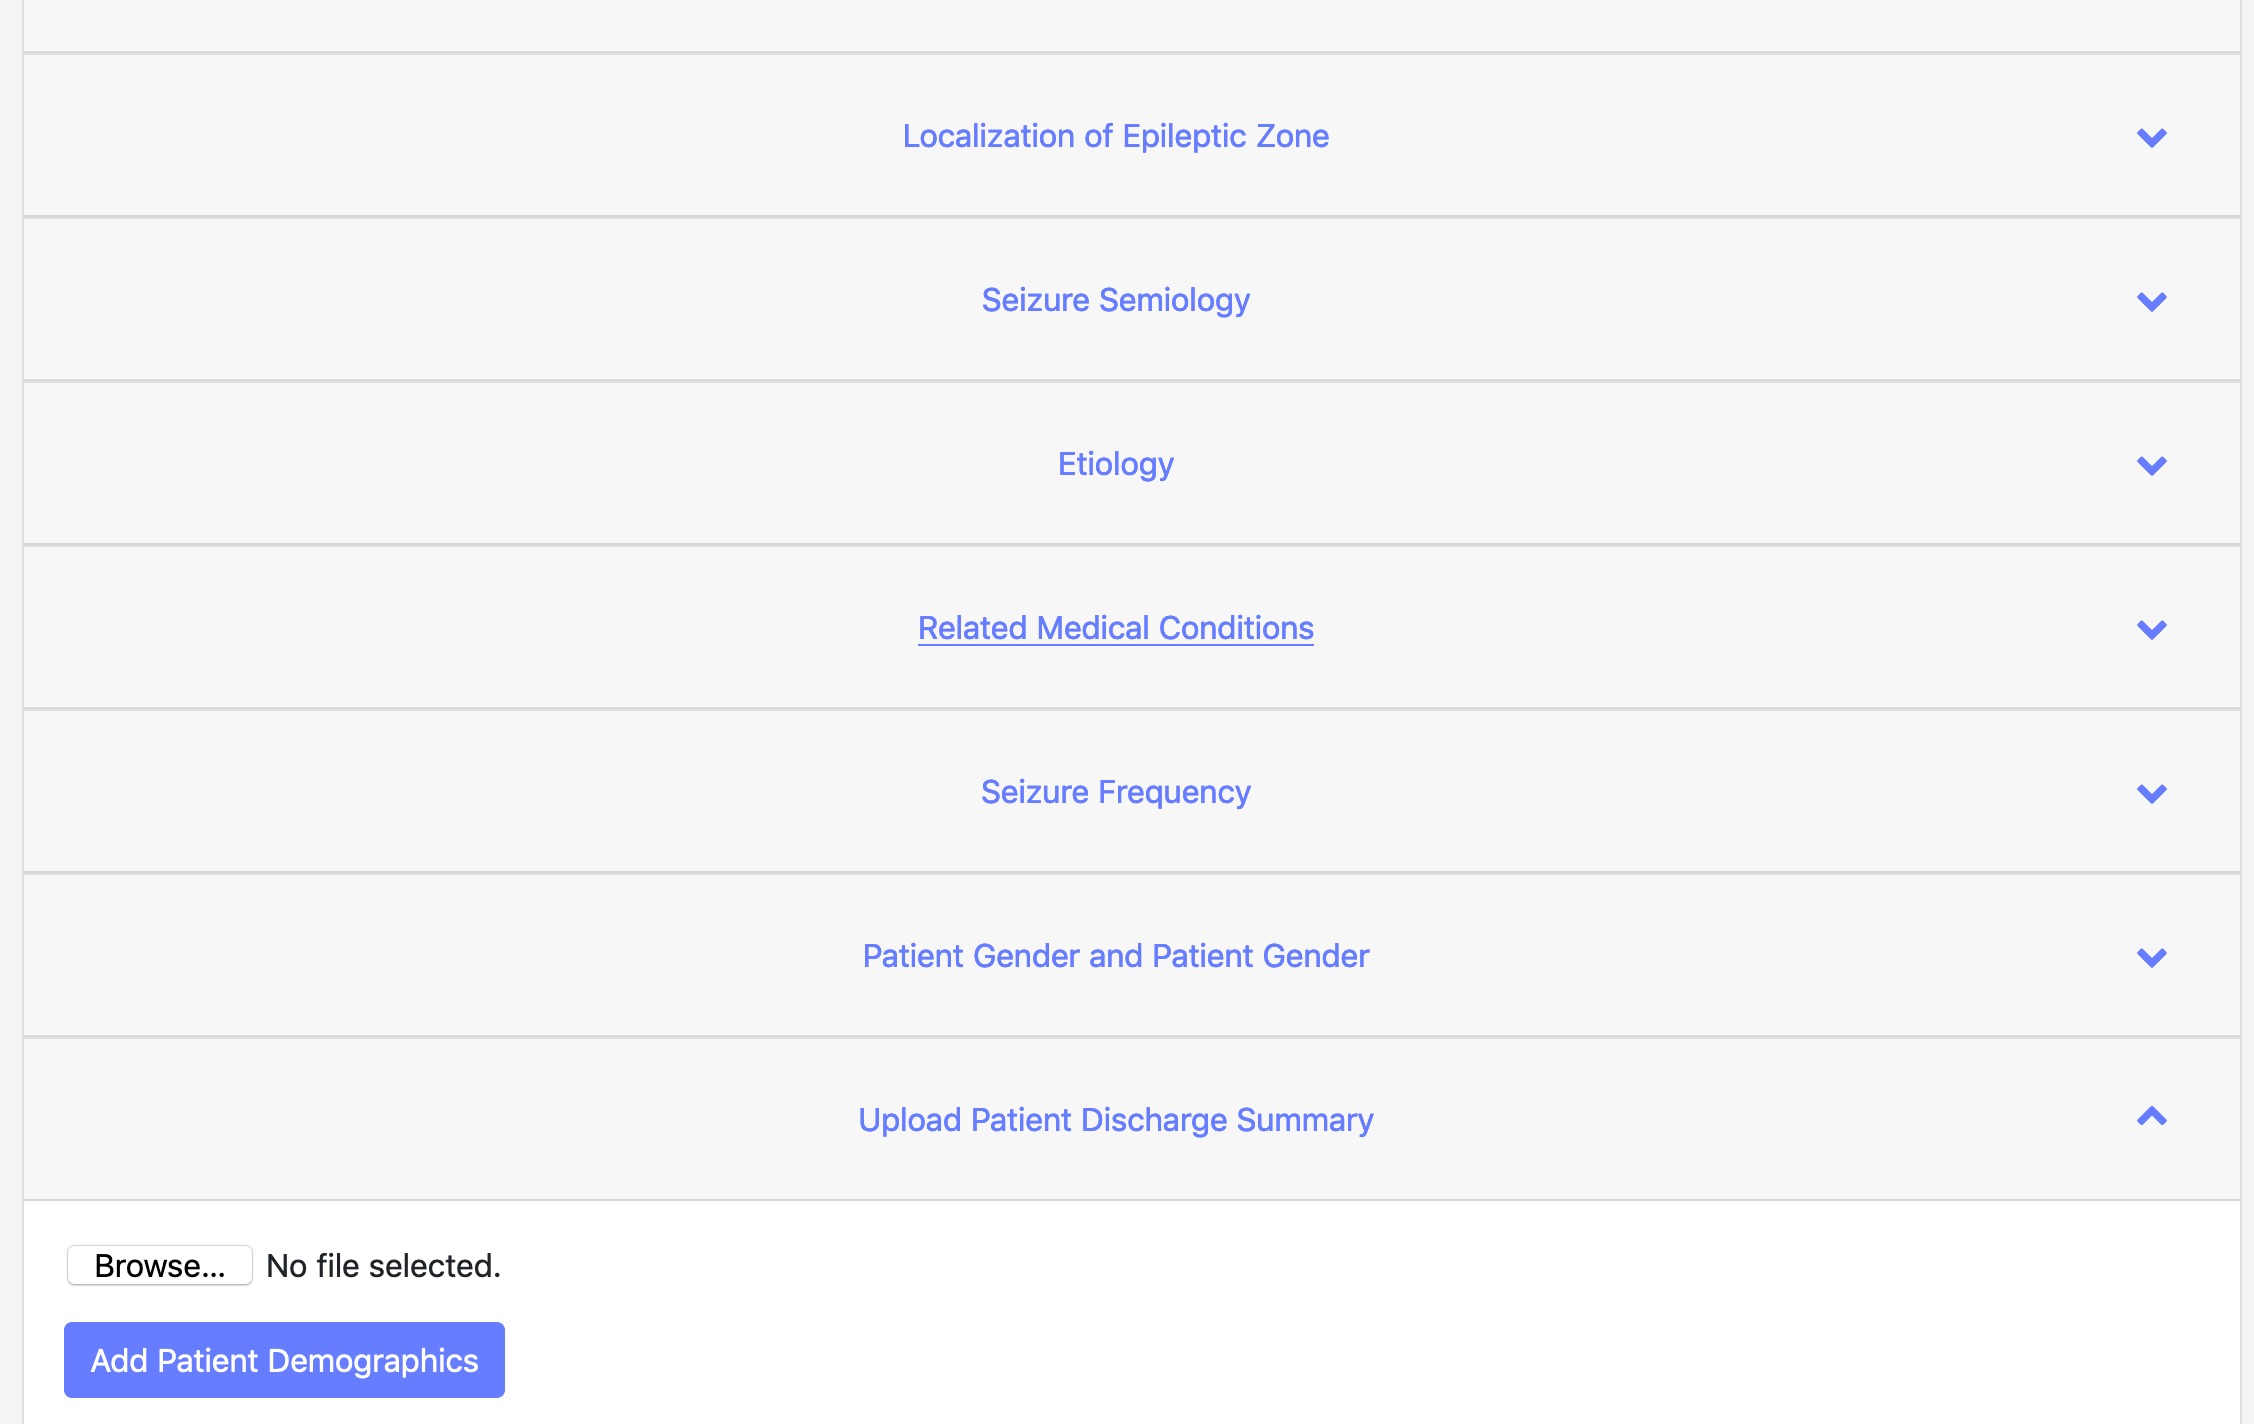
New Patient
If you select the New Patient button, you need to fill out the form and upload a discharge summary file. All fields are required. This information is stored in the database for later use. The patient ID you enter will then be automatically pre-filled in both the Conversion and Correlation steps.
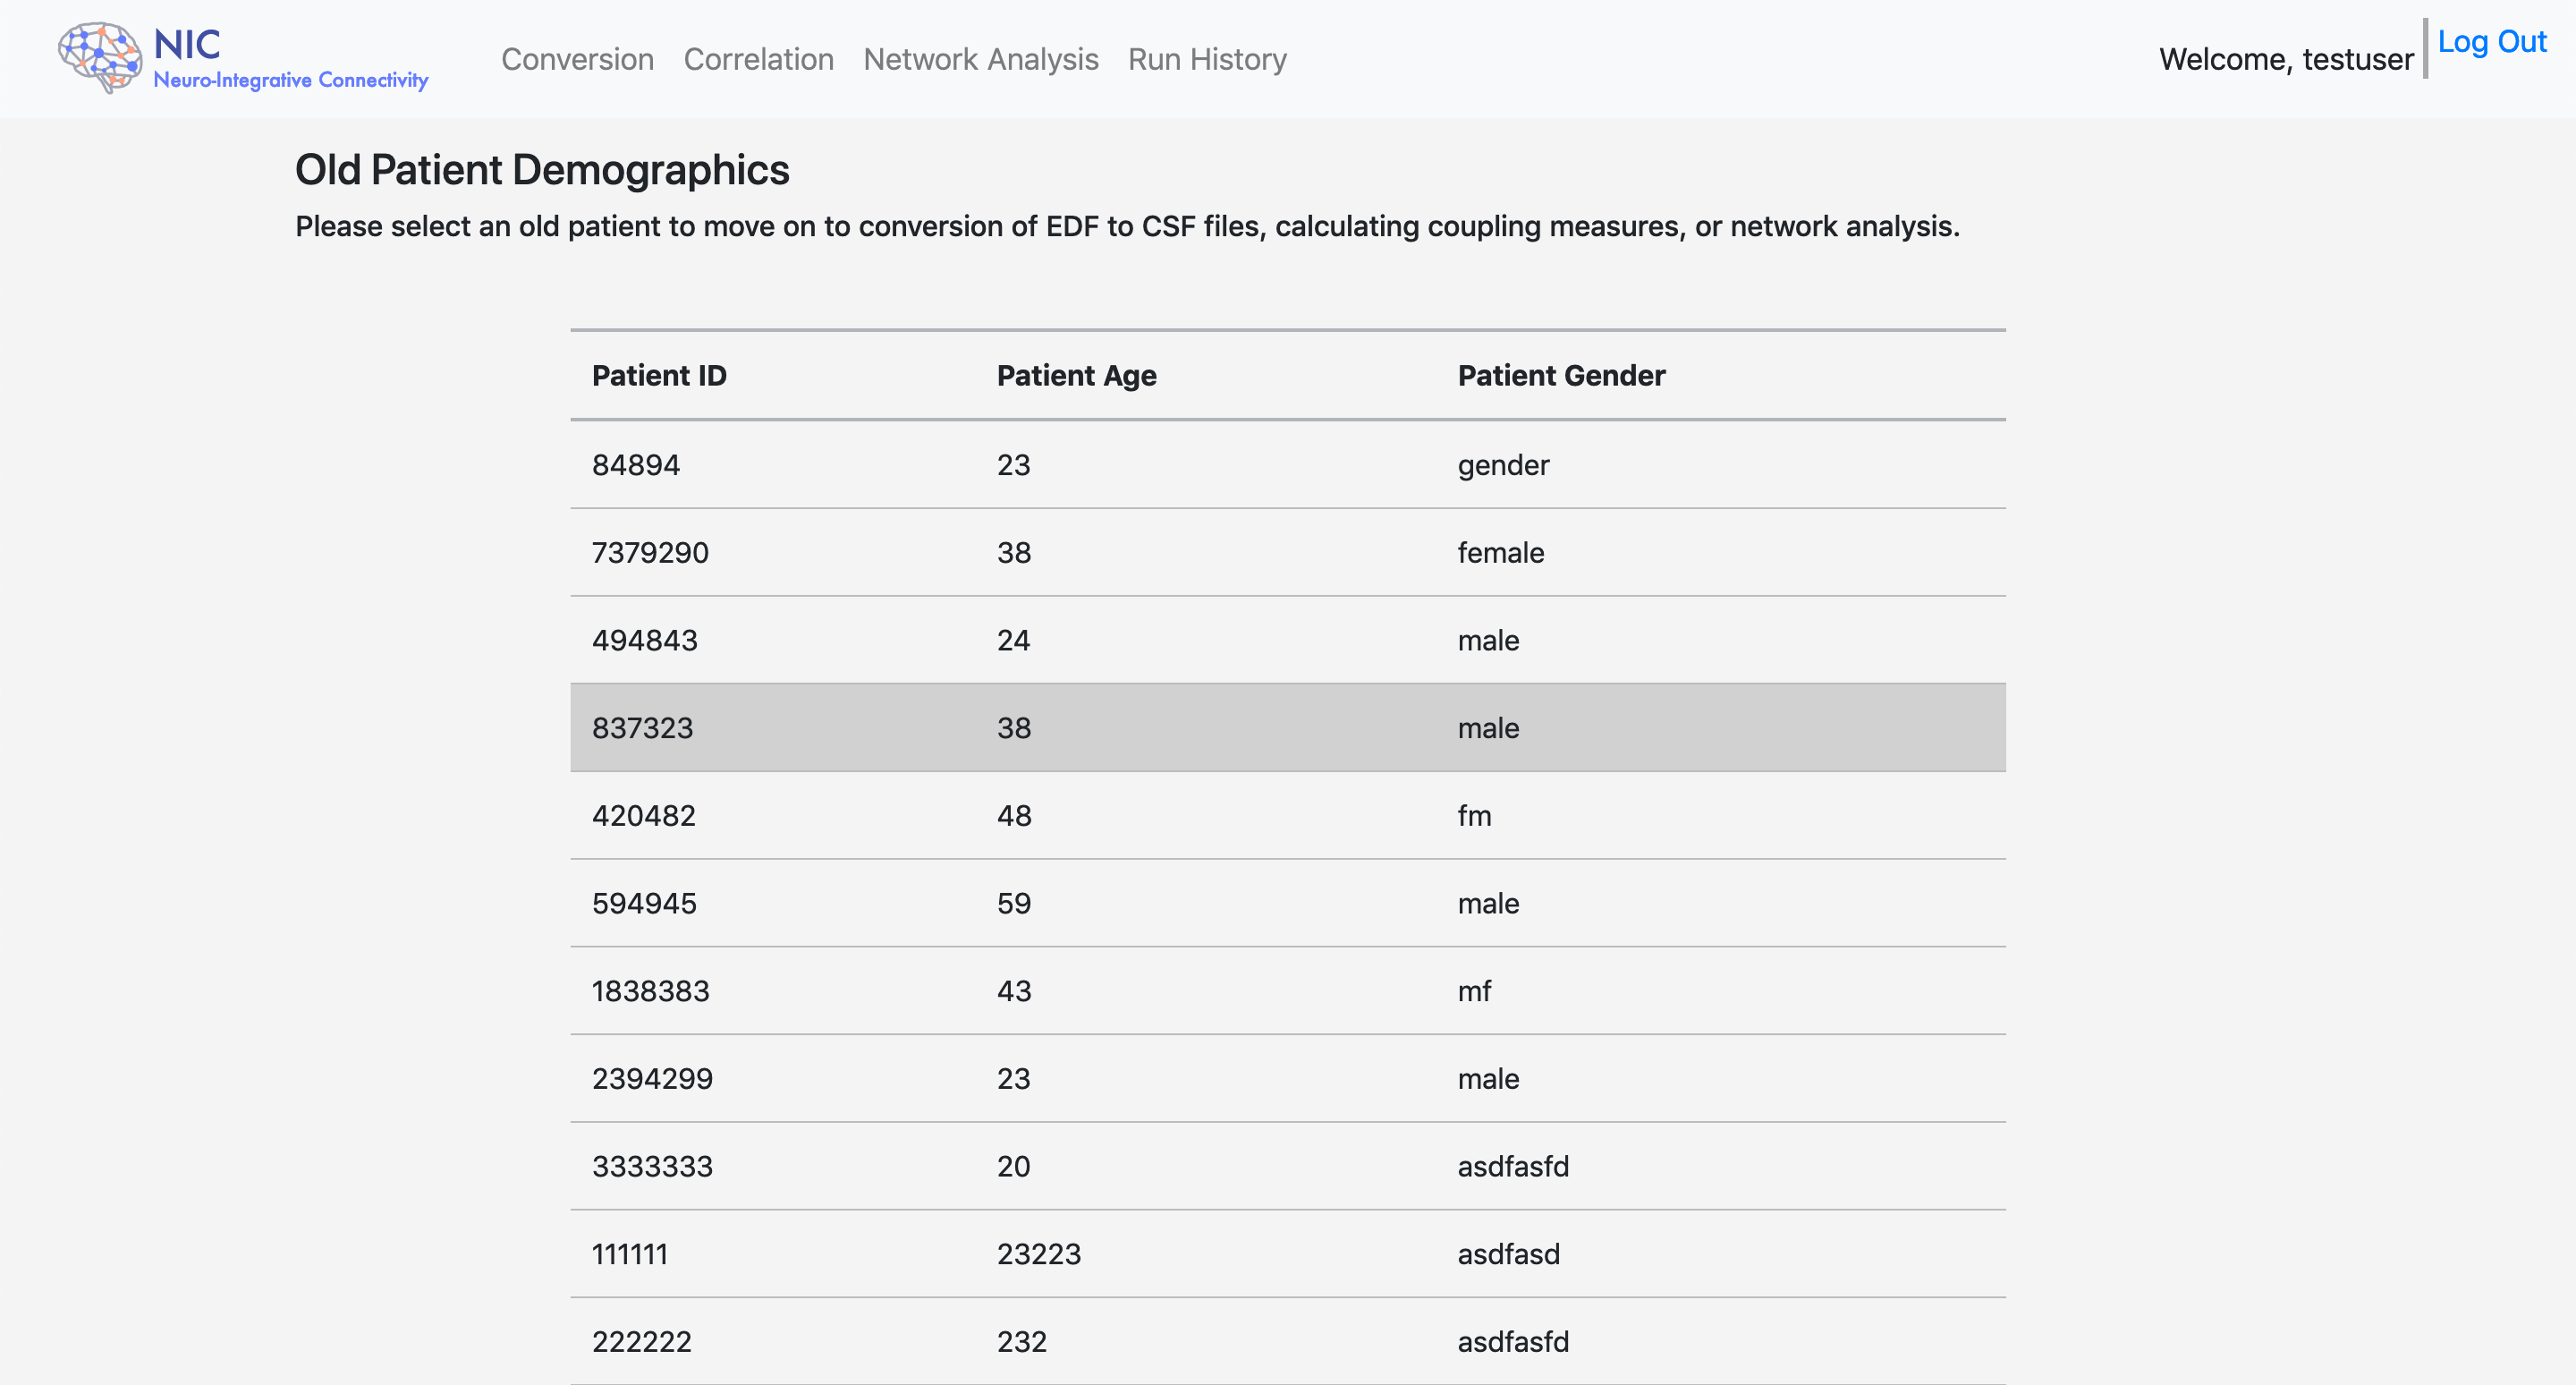
Old Patient
If you select the Old Patient button, you will be presented with a table where you can select from all your previously entered users. The patient ID you select will then be automatically pre-filled in both the Conversion and Correlation steps.
Finally, the buttons at the bottom will allow you to move on to the next step. As the tooltip states, generally, for newly processed patient, you will need to create CSF files from EDF files before performing further analysis on them.
